Hello everyone. I’ve completed the tutorial I promised. I’m sure there are tutorials out there that show how to fringe a sign with tissue paper, but I hadn’t found any that used a punch to make a finished edge. I learned some things while doing this for my sister-in-law’s baby shower and I thought I’d share my findings.
First, cut a 2″ wide strip from the length of a piece of tissue paper. (Folding the tissue paper a couple of times, and then cutting makes it easier)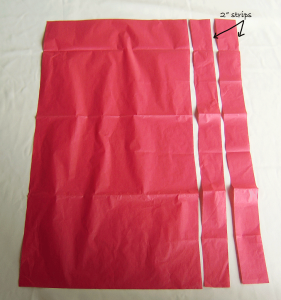 Second, fold the length in half, and then again. (not too many folds since it will be put through an edge puncher)
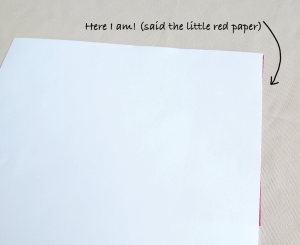
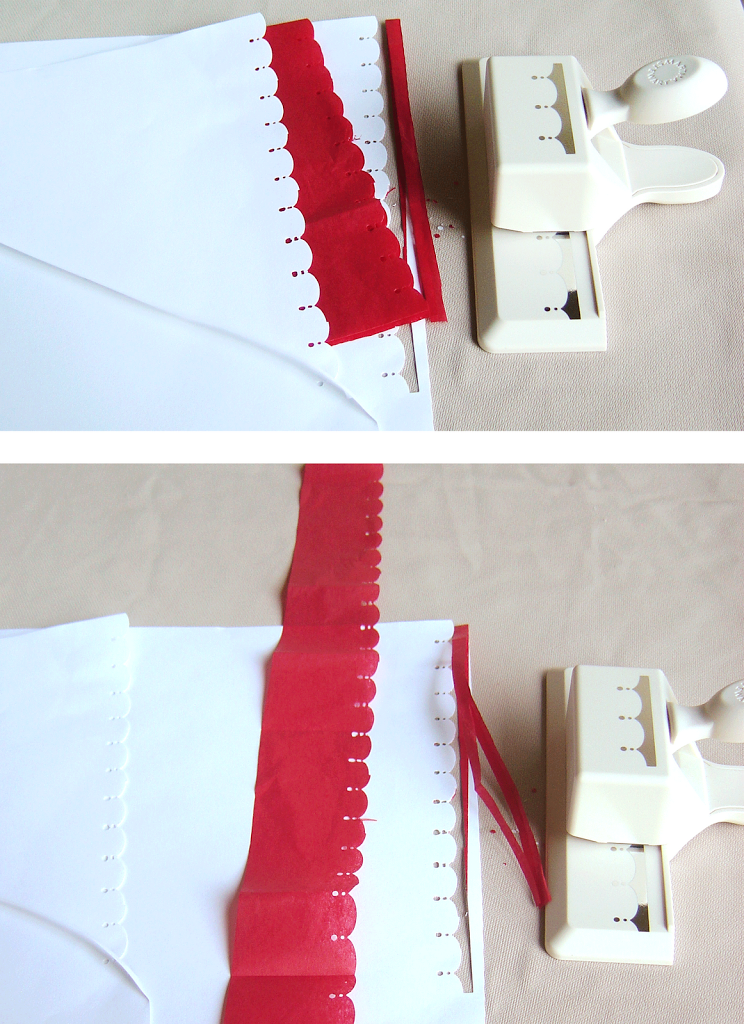
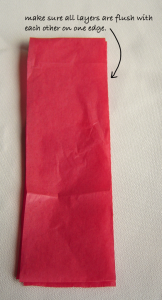 Take a sheet of copy or printer paper and match it to the long edge of the folded strip of tissue paper. Add another piece of paper to the bottom side, sandwiching the tissue in between.
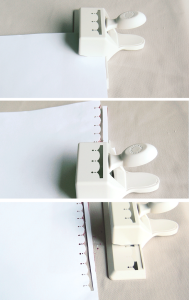
 Using an edge punch of your choice punch through all layers while keeping a firm grip so the “sandwich” doesn’t shift apart, continue until you’ve punched the length of the tissue paper. (I use the copy paper when punching because the tissue paper gets stuck in the punch. The paper helps add weight and protects the tissue paper from tearing as well.)
 Set aside the copy paper (it can be used for next strip) and unfold the tissue paper and lay the skinny side in front of you with the length moving away from you.
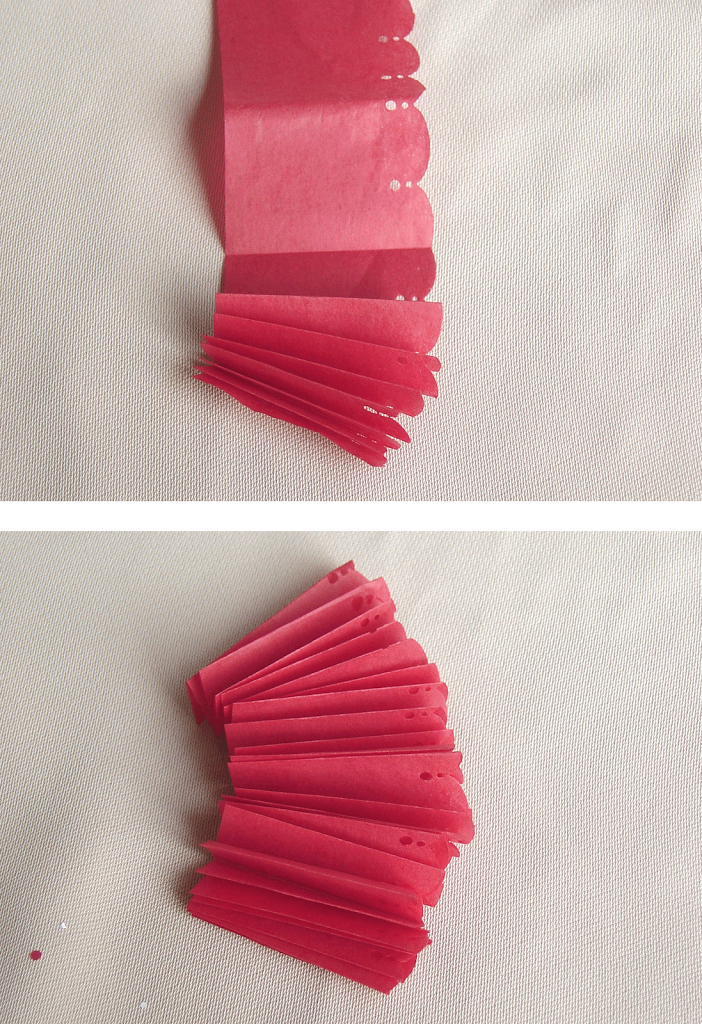
 Gradually fold the paper in a fan style, up and down, in about half inch increments until the whole piece is creased.
 Take the sign, or piece that you are adding this fringe to, and put double sided tape on the back of it, close to the edge.
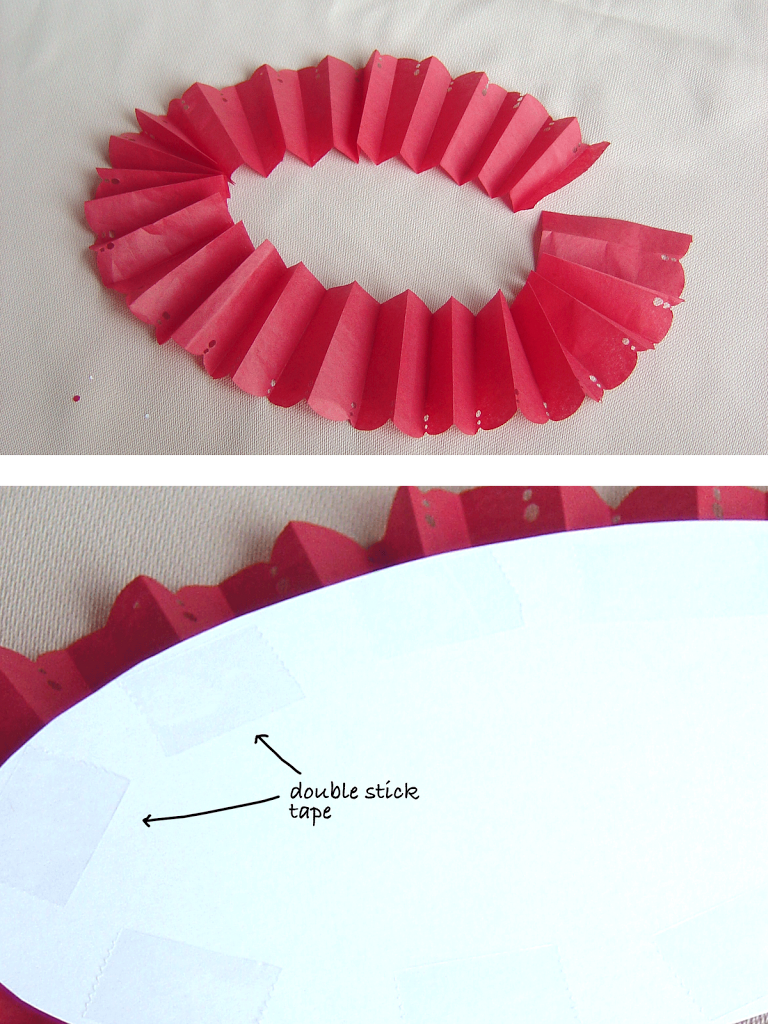 Start connecting the tissue paper at one point and pinch paper together as you go along. (One strip of tissue paper might not be long enough to cover your entire piece so repeat all steps with as many strips as necessary.)
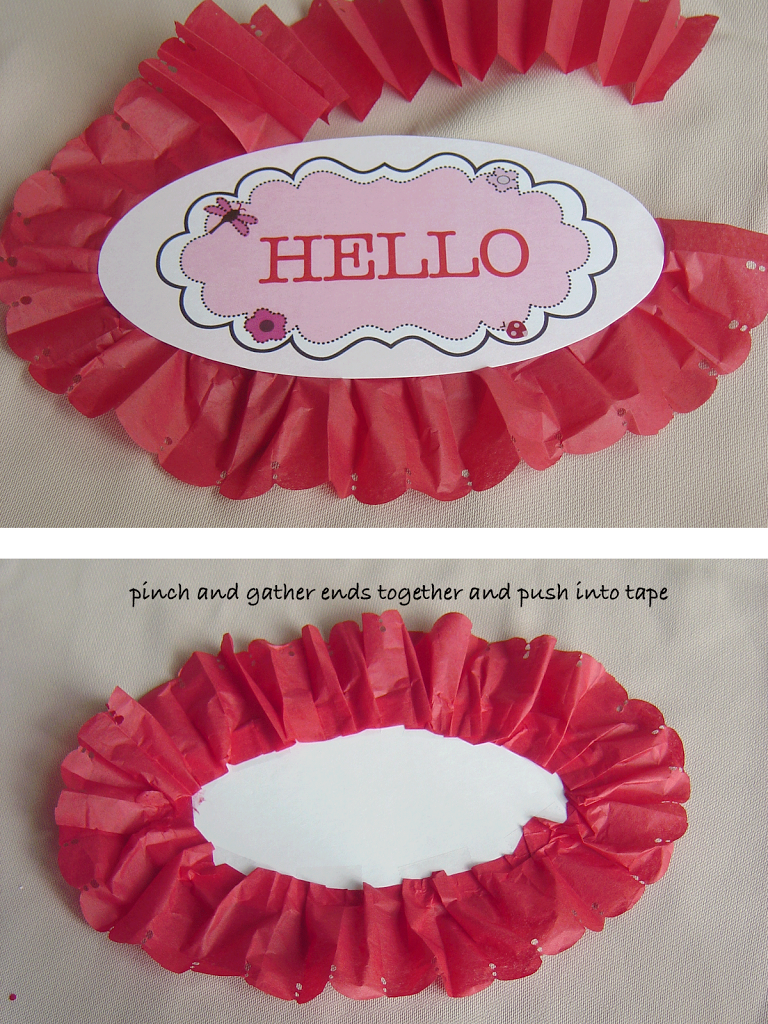 There you have it… An enhanced tissue paper fringe!
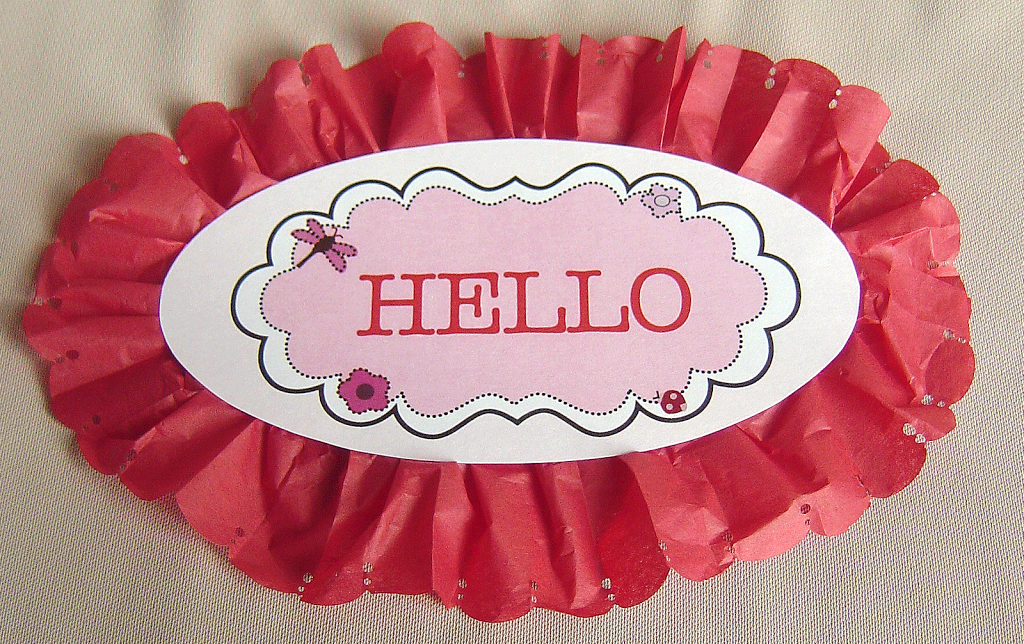 Hope you try this yourself and add a touch of fun to your next piece! Send me your feedback!
-michele


Leave a Reply