As promised, I’m sharing photos and the story of my sister’s wedding reception! Missed the first post? Click here. As I mentioned previously, we had a very small budget and an even smaller time frame for this DIY wedding. If you find yourself in a similar circumstance, I hope you’ll be able to glean a bit from our experiences.
After a lovely ceremony the guests were directed to the building we prepared for the reception. The venue included a sound technician for music, thankfully. My husband was the emcee and I coordinated during the reception, along with my mom. There were many who helped with setup and prep, especially the week of and particularly the day before and morning of the wedding. It was pure mayhem and I am so grateful for everyone who pitched in!
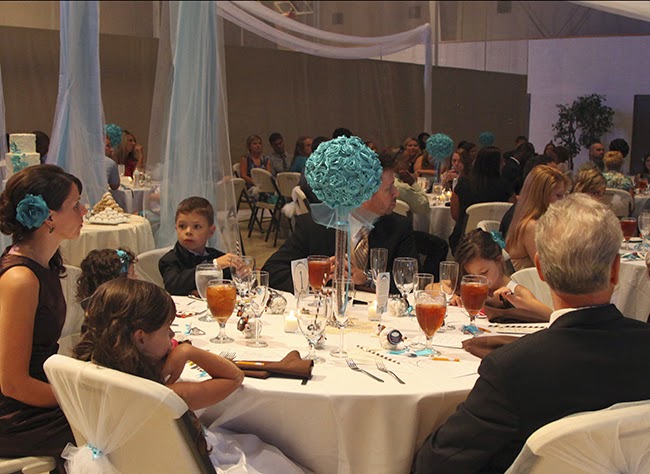
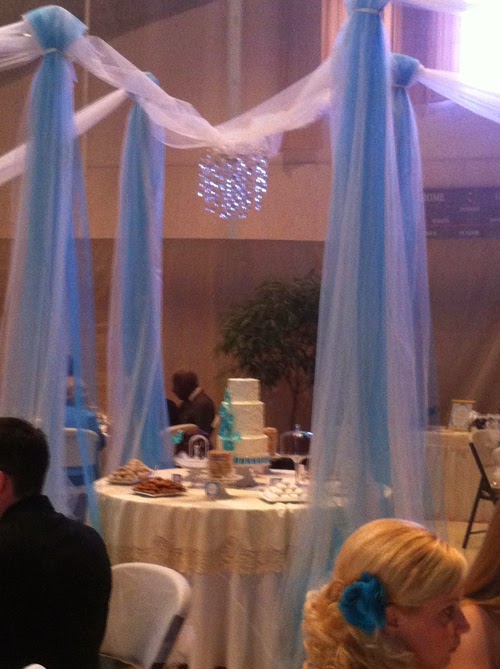
The Hall We originally planned the reception for a smaller banquet room, which would have made decorating easier, but due to that room’s renovation schedule we were moved to a much larger room on the property – a gym that doubles for a banquet hall. Without the added expense of outside linens or drapery vendors a gym can look so uninviting – I searched for inspiration and came across one wedding where the cake table was in the center of the room with tulle draping in from the outer corners. Figuring out the logistics of supports ‘on the cheap’ was challenging but it worked well for us also, though the photo doesn’t do it justice.
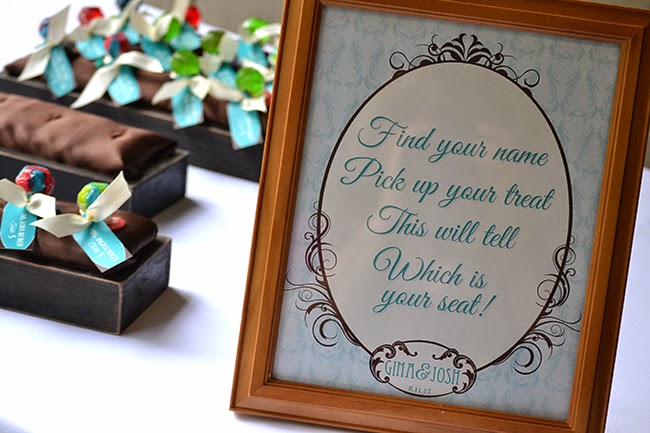
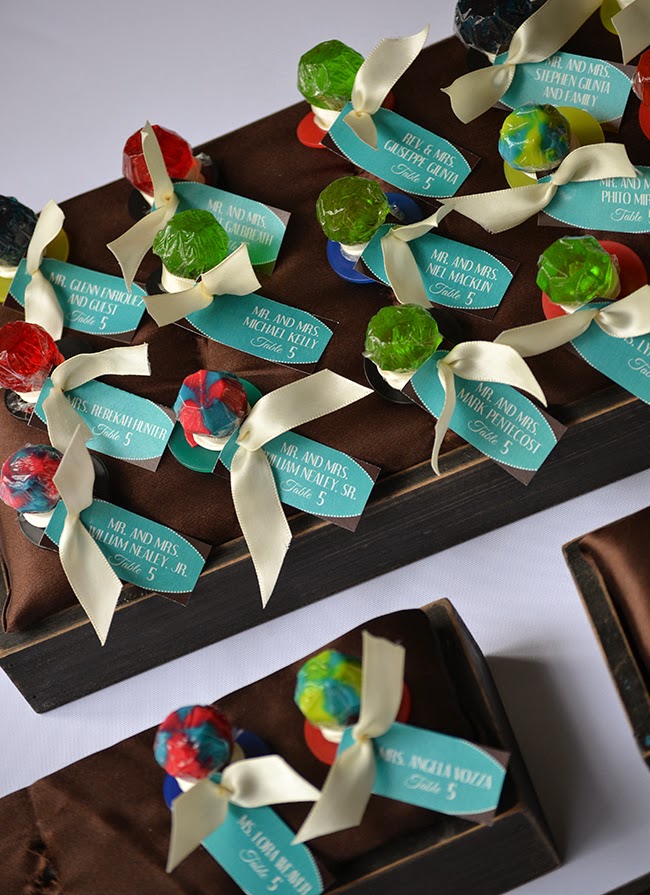
The Escort Tags – As you may recall, I mentioned how addicted my sister is to candy. The groom is pretty fond of it as well. At the last minute we came up with “ring pops” to accompany our escort cards. The tricky part was figuring a way to set them out, without having to spend the money on the clear boxes often used. I came up with a type of jewelry case idea so we ended up unwrapping and rewrapping each one with plastic wrap to keep them sanitary and tagging them. The day before the wedding (or was it the morning of?) I took a moment to prepare the shallow boxes from my inventory with foam blocks previously cut, hot gluing them to the bottom of each box so the guests wouldn’t pull the whole block out when removing their ‘ring’, adding padding and silky material and then the rings were put ‘on display’!
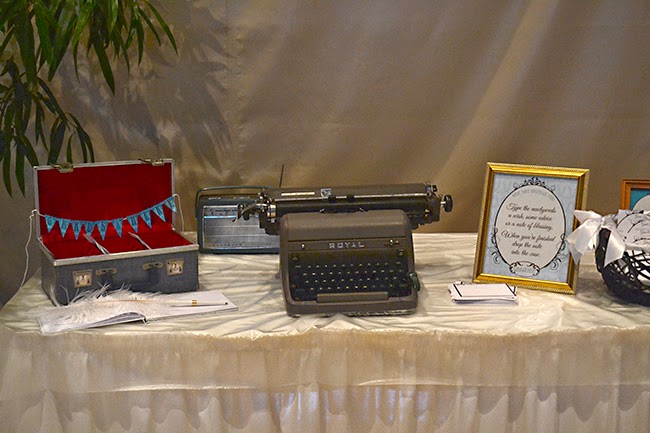
The Well Wishes Table – I have an old typewriter that I had been dying to use and this was my grand opportunity. My dad and I worked on the ribbon and got it working again and I prepared the cards for guests to use. I found an old 8-track cassette box at a thrift store and added a mini banner inside to collect the finished notes.
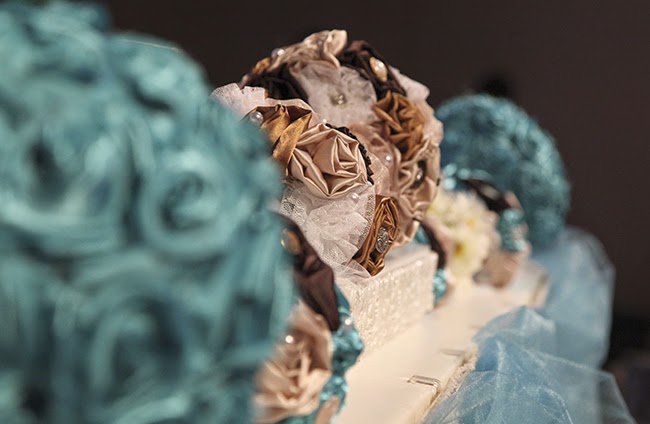
The Guest Tables – In the center of each table was an alternating teal or brown rosette ball, as we used in the ceremony, placed in a glass vase found at a local hobby and garden store. The challenge was getting the lanterns to sit firmly over the small hole in a way to not have a support rod show through the vase. Each vase was filled with teal or brown sixlets. In hindsight I’m sure there were easier ways of accomplishing this, but in the moment we went with a styrofoam “cork” on the top of the vase, hooked a stiff wire around the frame inside the lantern and pushed it through the foam cork. (Think vertical bobby pin.) We then covered that with matching material. The napkins also alternated between teal and brown.
Each table had a number, of course, and also had a small welcome sign that included details of how to share their photos of the event. The stands were reflective of the couple’s sports fields.
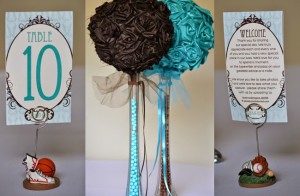
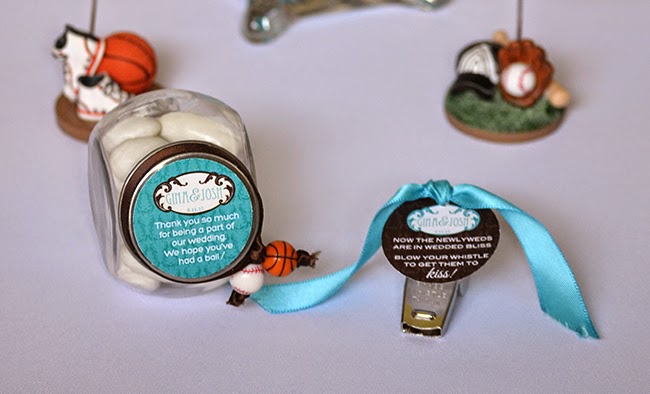
Table settings were personalized with guests’ names on a straw flag. Favors were traditional candy coated almonds placed in a small jar, along with an additional coach’s whistle symbolic of the bride and groom’s coaching and passion for sports.
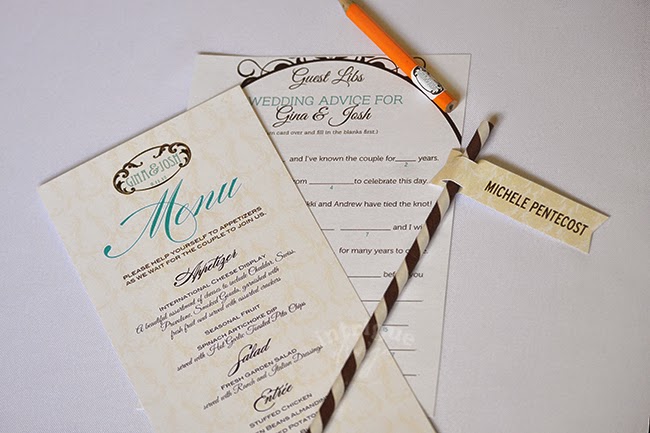 In each napkin was a menu and a mad libs card for guests to fill out while waiting for the bride and groom to arrive, along with a small pencil.
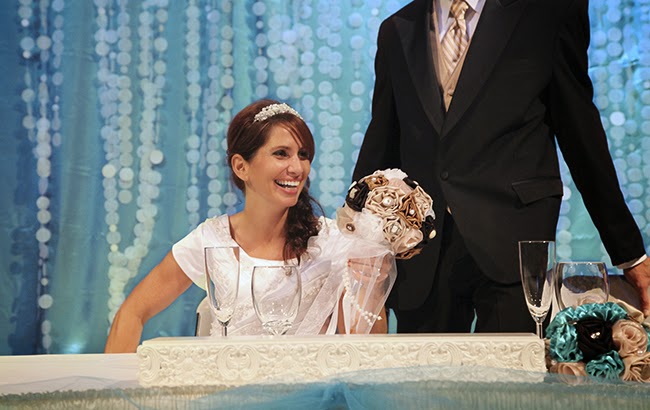
The Sweetheart Table Backdrop – The ceremony and reception were both held at the same venue and it was nice to not have to travel elsewhere for setup. Because of this, rather than create a second backdrop for the “gym” reception area, we simply transferred the one from the chapel to the gym during the time the bride and groom were being photographed off site. I was worried it would appear a little awkward but I don’t think anyone really paid any attention to it being moved in and it made for pretty photos with less work.
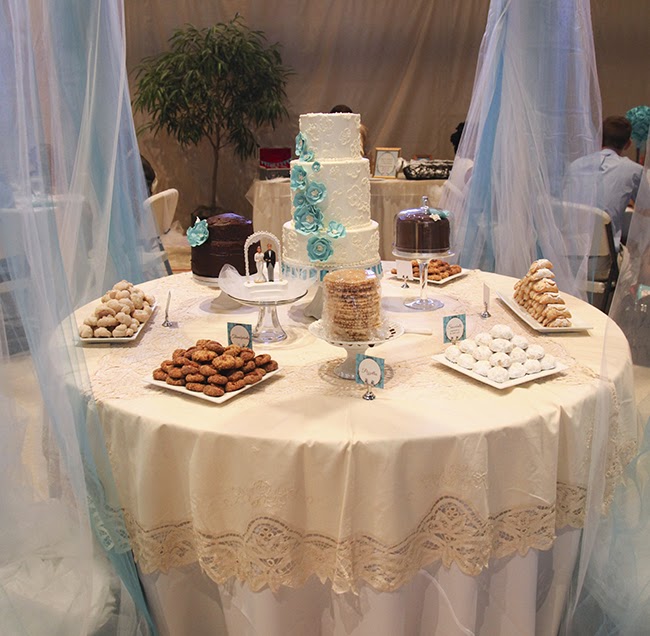
The Cake + Desserts – My mom really wanted me to make the cake, both to save money and because she liked my work. Hmmm. I’ve heard the first rule is to not make the cake for a wedding you’re actually in…. but you have to listen to your mother, right? 🙂 Honestly, I am very pleased with how it turned out, especially as the design I was creating came together at the last minute (4:30am) that sealed the deal. Actually, I remember finishing some of the brush work before leaving, making me super late for my hair appointment but hey, it all worked out! 🙂 Thankfully my talented sister-in-law did the styling at the church so she took care of me last.
Even more special was being able to use my parents’ cake topper. We wanted it to be more of a display piece and decided to add it to the ‘side’ of the cake rather than put it on top. I just love that we were able to show it, being almost 48 years old at the time. Above the table hung a pretty chandelier in an attempt to add more elegance to the room.
guest photo
Our aunts/uncle made traditional, delicious, Italian sweets in addition to the cake and the groom’s cakes were made by my mom (which she also finished decorating after the rehearsal dinner that was held at her house the night before), so the table being in the middle of the room was a nice way for them to be displayed. It also allowed a larger area for guests to gather all the way around the table for the cake cutting.
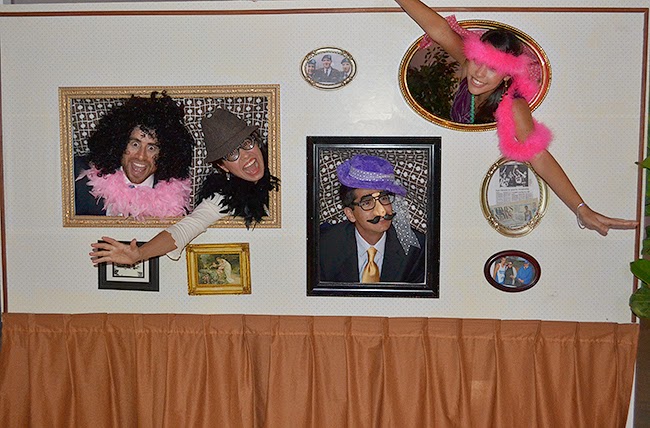
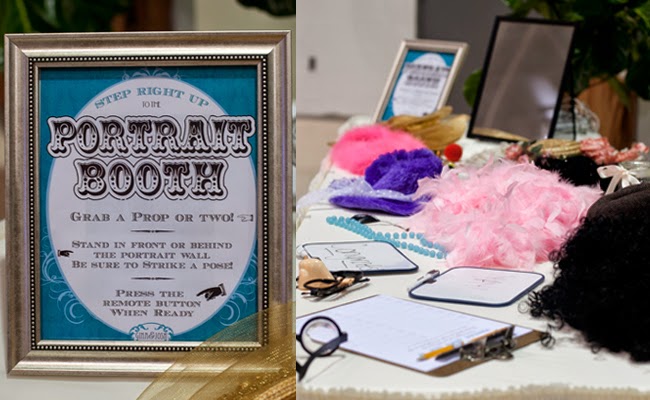
 Photo Portrait Wall – This was so fun! I had ‘pinned’ this board a LONG time ago and I was finally able to create one with the help of my dad! (He actually did most of the work.) I love the idea of a wall of photos and this turned out great. We used contact paper instead of wallpaper and frames from thrift stores. My aunt sewed the bottom curtain and voila! My brother prepared a camera with laptop setup so guests could see their portraits after they were taken and their photos were emailed to them.
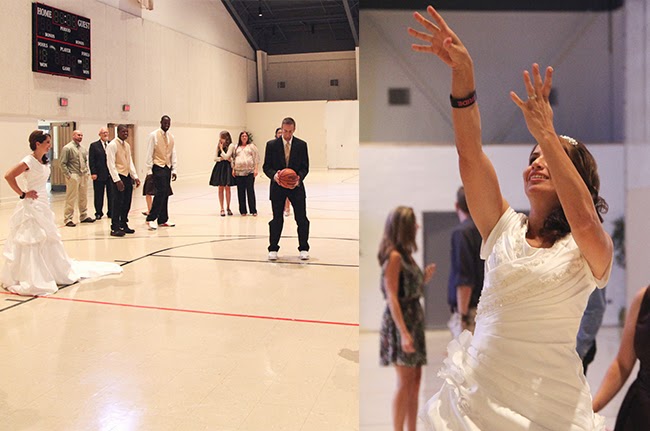
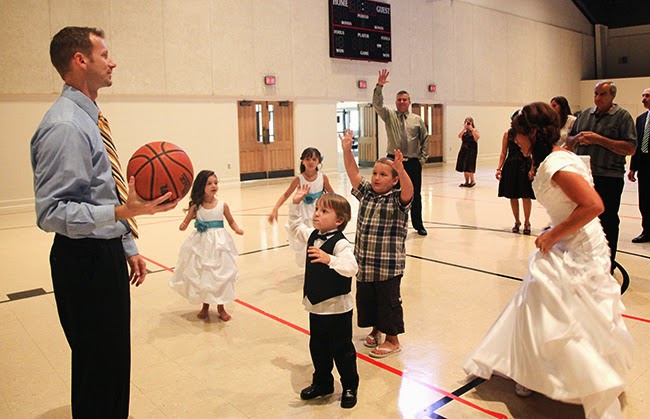
The Party – My sister has always been a sports fanatic, playing just about anything you can imagine. Basketball is her first love and she coaches all ages. Josh played baseball and coached track and field. It was only fitting that, considering we were in a gym for the reception, we include a basketball shoot-out contest. I will not say who actually won… 🙂 Guests also joined in on the fun and took a few shots of their own.
It was truly a wonderful, albeit long day (2 months) and I was so honored to play a big part in my little sister’s big day. Love that girl. 🙂
In case you were wondering how far one can go with paper goods, here is the list of most of the paper items I designed, printed and prepared for the wedding. Lots of little things to think about!
• Bridal Shower Invitation and party extras
• Monogram design
• Invitation, Reply card, Accommodations card, handwritten envelope and printed reply address on return envelope.
• “Reserved” signs for pews
• “Aisle restraint” sign
• Programs (with fold up side to hold a tissue “for happy tears”)
• Tags for ceremony recessional “hooray” sticks
• Large Pennant boards (3) mounted on foam/sticks for boys in ceremony
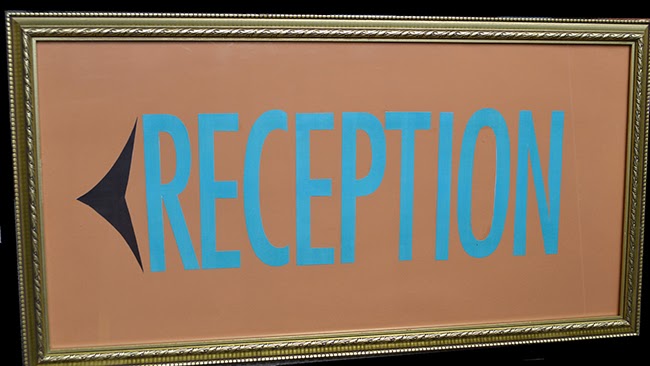
• Individually hand cut letters for “RECEPTION” directional framed sign
• Bunting for head table “Mr. and Mrs.”
• Escort Cards (tags for ring pops)
• “Notes for the Newlyweds” 4×6 cards for typewriter
• Mini Pennant Banner for “Cards Here” box
• Guest MadLibs Cards
• Menus
• Stickers with monogram for little golf pencils at each placesetting
• Placecard flags for striped straws
• Favor Stickers
• Whistle Tags
• Dessert Table Title cards
• Welcome card sign for 14 tables
• Table Number signs for 14 tables
• Sign up sheet (to have portrait booth photos emailed to guest)
• Photobooth props
• Photobooth wall photos (scanned, printed and framed for the backdrop board.)
• Thank you Sign for newlywed photos
• All manor of smaller signage: Escort Card directional sign, Typewriter table sign, Mad Libs directional sign, Photobooth prop table sign, etc.
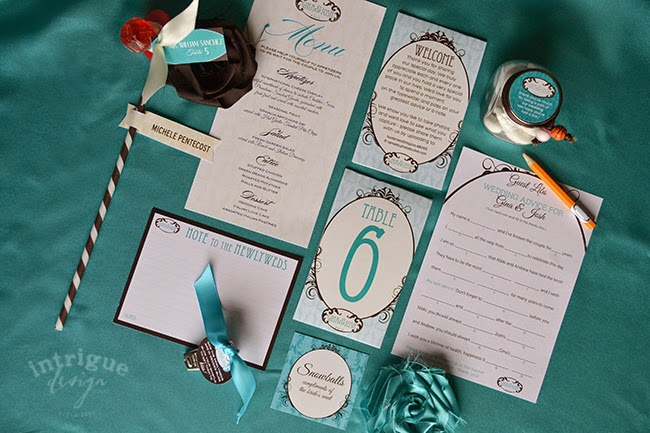 Whoa! It all came together so nicely and as I said earlier, so many family and friends pitched in that week leading up to the wedding, words cannot express how extremely thankful we are.
A wedding is hard work and very time consuming, scoping out the best deals, but my mom (as always) was fabulous at finding and figuring out what worked best for the best price. From centerpieces, tableware, linens, favors to just about everything that needed purchasing, she amazed me with the deals she found!
To sum it up, my word of advice for any DIY bride – Give yourself PLENTY of time and don’t procrastinate! Better yet – hire a planner and let them do all the work. hehe
Credits:
Photography: Amy Dobson Photography & myself
Catering: Chef Pauli’s Cafe & Catering
Venue: Victory Church, Lakeland, Florida
Invitation and Paper Goods: Intrigue Design Studio




Leave a Reply